Brown rice is a pantry staple that’s healthy, hearty, and super versatile, but let’s be honest, it’s a bit of a hassle to cook on the stovetop. Enter the Instant Pot brown rice recipe, your new favorite kitchen shortcut. No more burnt bottoms or soggy grains. This method is hands off, fast, and delivers perfectly cooked rice every single time.
In this ultimate guide, we’ll walk you through everything you need to know: from the right rice to water ratio, pressure cooking tips, and flavor boosts, to meal prep hacks and freezing tricks. Whether you’re a beginner or just tired of inconsistent results, this article will help you master Instant Pot brown rice like a pro. Ready to fluff it up? Let’s dive in.
Why Choose the Instant Pot for Brown Rice?
Benefits of Using an Instant Pot for Whole Grains
Let’s face it, cooking brown rice on the stove can be a gamble. One minute it’s fine, the next it’s either undercooked or turned into mush. That’s where the Instant Pot changes the game. With its pressure cooking magic, this appliance takes the guesswork out of the process.
Cooking whole grains like brown rice in an Instant Pot is a total win. It’s not just about saving time, though that’s a big plus. It’s about consistency. You get fluffy, separate grains every time without standing over the pot. The even heat and sealed environment ensure the rice cooks uniformly and retains its nutty flavor and chewy texture.
And hey, no babysitting required. Just set it and forget it!
Time & Texture Comparison: Instant Pot vs. Stove
On the stove, brown rice usually takes 45 to 50 minutes and that’s if you’re lucky. Plus, you have to tweak the flame and check the water level constantly. Ugh.
The Instant Pot brown rice recipe slashes your active cooking time. Sure, it still takes about 45 minutes total including pressure build up and release, but only a fraction of that is hands on. The result? Tender, fluffy grains that don’t stick together like a clump.
In short, the Instant Pot makes brown rice not just easier, but better. You get that perfect chew with zero stress.
Ingredients and Equipment Needed
Essential Ingredients for Instant Pot Brown Rice
Let’s keep things simple. To whip up the Instant Pot brown rice recipe, you really only need two ingredients:
- Brown rice: Long grain or short grain both work like a charm. Just steer clear of quick cooking or instant varieties.
- Water: Fresh, clean water is all you need, though broth is a great flavor booster if you’re feeling fancy.
Want to take things up a notch? A pinch of salt or a splash of olive oil can go a long way in enhancing flavor.
Recommended Instant Pot Models and Tools
You don’t need a fancy gadget to pull this off. A basic 6 quart Instant Pot is perfect for most kitchens. If yours is smaller (like 3-quart), just halve the rice quantity. If it’s larger (like 8-quart), double up to avoid the “burn” warning.
You’ll also want:
- A fine mesh strainer (for rinsing rice)
- A measuring cup
- A fork (for fluffing that fluffy goodness)
How to Make Instant Pot Brown Rice: Step by Step
Rinse Your Brown Rice Properly
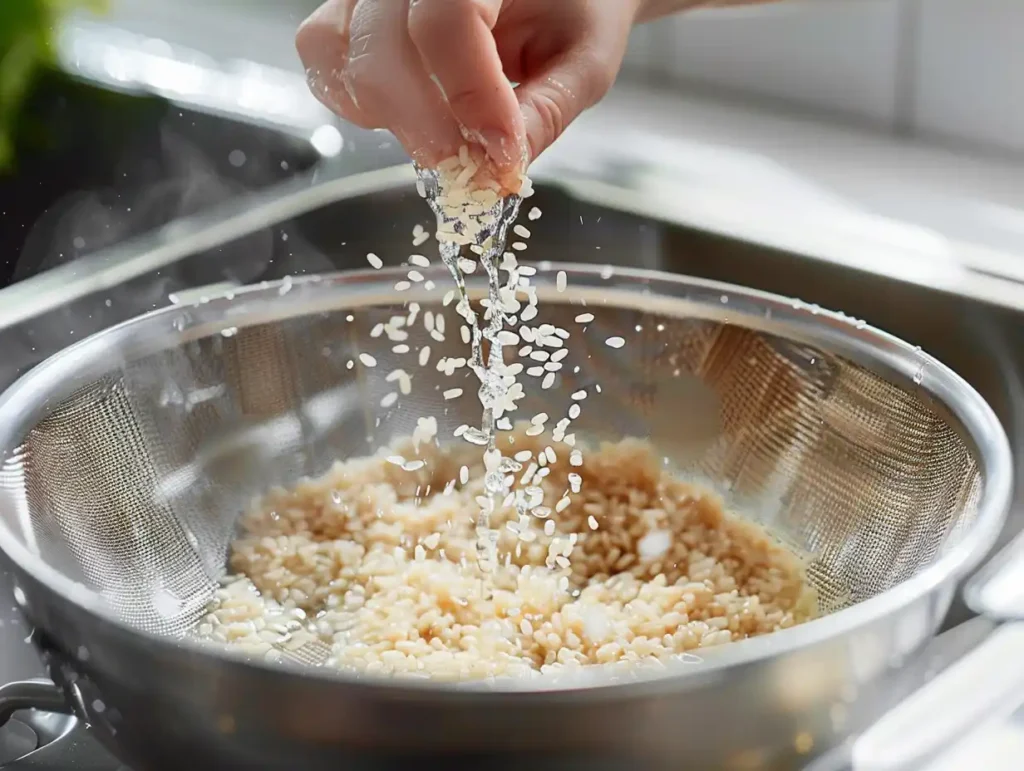
Here’s a step you don’t want to skip. Rinsing removes surface starch that can make your rice sticky or gummy, and nobody wants that. Place the rice in a fine mesh strainer and run cold water over it. Keep rinsing until the water runs clear. Easy peasy.
This one minute step sets the stage for fluffy, non clumpy results, exactly what we’re after in this Instant Pot brown rice recipe.

Measure the Rice to Water Ratio
Now, let’s talk ratios. The golden rule for the Instant Pot is 1 cup of brown rice to 1¼ cups of water. That’s less than you’d use on the stove because there’s less evaporation.
Want to double the batch? Just stick to the ratio. For example, 2 cups of rice means 2½ cups of water. No need to tweak the cook time.
Bonus tip: For more flavor, swap water with vegetable or chicken broth, yum!
Cooking Time and Natural Pressure Release
Set your Instant Pot to High Pressure and cook for 20 minutes. Once the timer beeps, don’t touch it! Let the pressure release naturally for another 20 minutes.
Why? This slow release lets the grains finish steaming and soak up every last bit of moisture, which gives you that soft-yet-chewy texture brown rice is famous for.
If you rush and do a quick release, your rice could end up dry or undercooked. Patience pays off!
Fluff and Serve
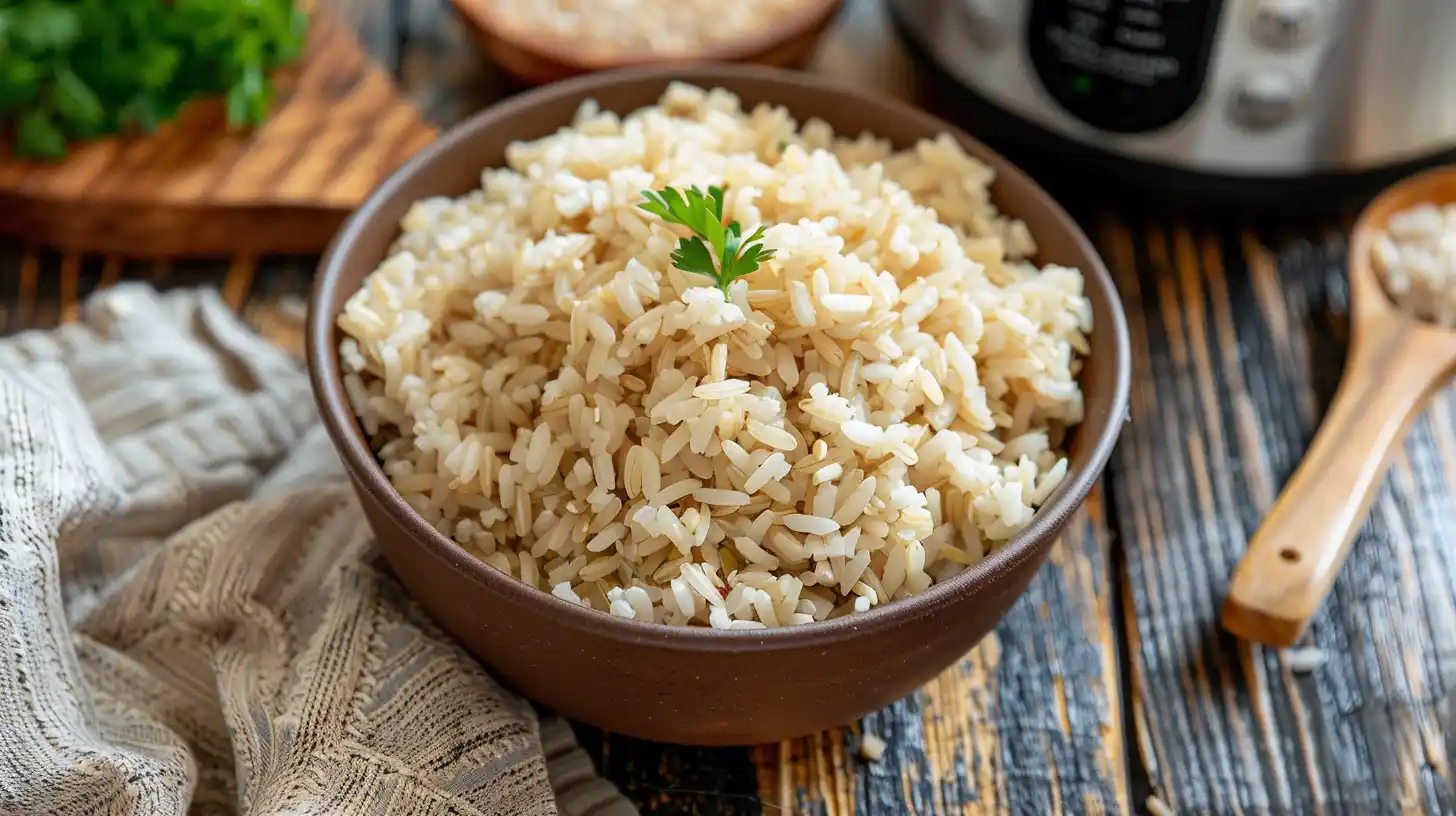
Once the float valve drops and the lid unlocks, it’s go time. Grab a fork and gently fluff the rice. Don’t mash it, just let the steam escape and separate the grains.
At this point, your Instant Pot brown rice is ready for anything: burrito bowls, stir fries, or even freezing for later.
Expert Tips for Perfect Instant Pot Brown Rice Every Time
Let the Pressure Release Naturally: Here’s Why
If there’s one thing that separates good from great in any Instant Pot brown rice recipe, it’s this: natural pressure release. It might be tempting to flip the valve and get dinner done faster, but hang tight, your patience will be rewarded.
Allowing the pressure to release slowly keeps the rice from turning out undercooked or water logged. It mimics that stovetop “rest” period where grains soak in residual heat. This extra time lets every grain plump up just right, creating a soft, chewy texture that’s downright dreamy.
In short? Don’t rush it. Let the Instant Pot do its thing, it knows what’s best.
Batch Size Matters: Minimum Quantity Guidelines
Bigger isn’t always better… but in the case of Instant Pot brown rice, it often is. If you’ve got a 6 quart Instant Pot, aim for at least 2 cups of uncooked rice per batch. This helps the rice cook evenly and prevents it from sticking or burning at the bottom.
Using a smaller 3 quart model? Feel free to go with 1 cup. Just stick to the same 1:1.25 rice to water ratio.
Got an 8 quart? Double the quantity, or your pot might flash the dreaded “burn” warning. Adding more water or cooking a larger batch usually fixes this fast.
Freeze and Reheat Like a Pro
Cook once, eat forever, or at least all week! Brown rice freezes beautifully. Spread the cooked rice on a baking sheet to cool, then scoop it into zip-top bags and stash in the freezer.
To reheat, sprinkle a bit of water over the rice and microwave it for a minute or two. It’s a total lifesaver for busy lunches or quick weeknight dinners.
Flavor Variations & Add Ins
Cooking with Broth, Herbs, or Spices
Brown rice doesn’t have to be boring. While the Instant Pot brown rice recipe is fantastic on its own, it also plays well with flavors. One easy upgrade? Swap water for vegetable or chicken broth. It adds a rich, savory layer that’s perfect for pairing with stir fries or roasted veggies.

Want to get fancy? Toss in a bay leaf, garlic clove, or onion slice before sealing the lid. Just remember to remove them after cooking. A pinch of turmeric or cumin can add warmth and color, while a dash of soy sauce adds that umami kick.
Mix-ins After Cooking: Kale, Beans, or Coconut Milk
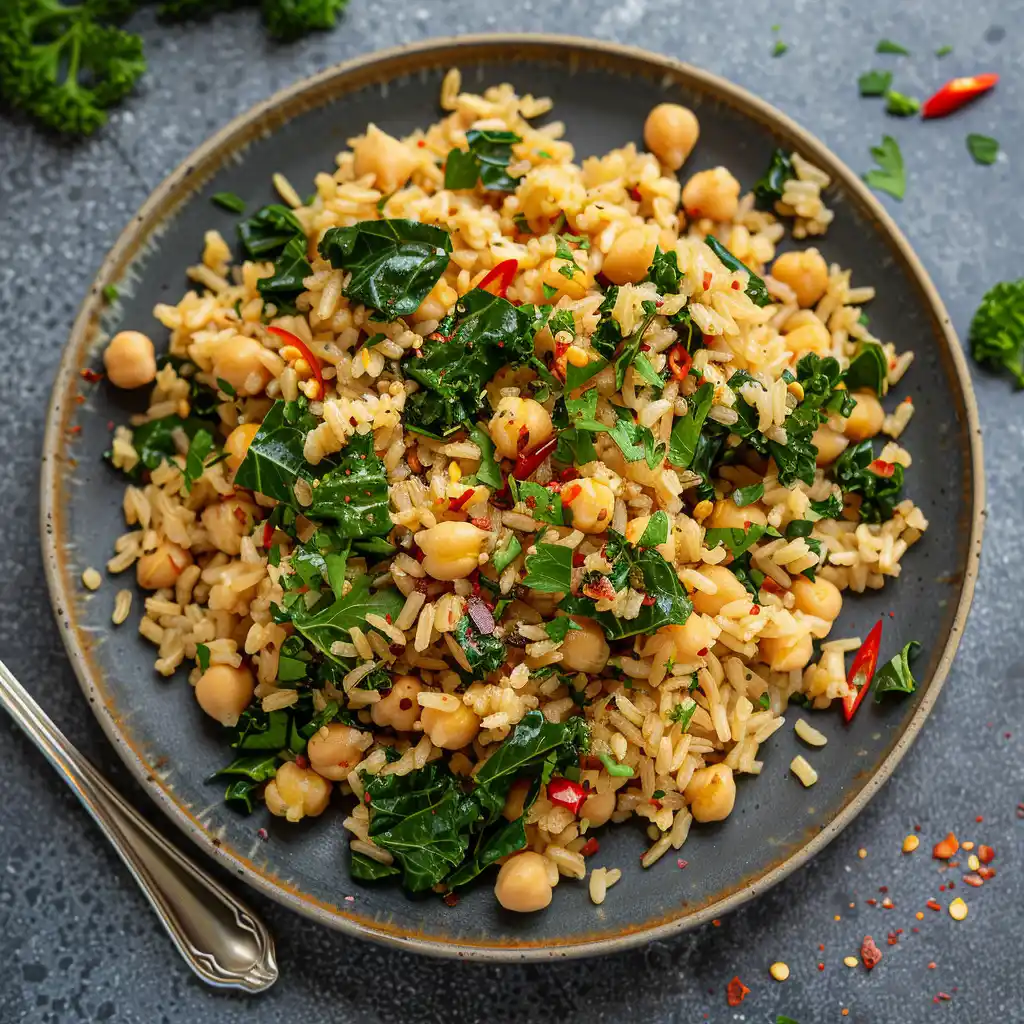
After your rice is perfectly cooked and fluffed, it’s time to jazz things up. Toss in chopped spinach or kale while the rice is still hot, it’ll wilt beautifully. You can also stir in a can of drained black beans or chickpeas for a protein-packed twist.
Feeling tropical? A splash of coconut milk and a sprinkle of shredded coconut can turn your brown rice into a creamy, dreamy base for curry or grilled tofu.
Whether you’re going savory, spicy, or sweet, this Instant Pot brown rice recipe makes the perfect canvas.
Common Issues and How to Fix Them
Why Is My Rice Undercooked or Mushy?
Even though the Instant Pot brown rice recipe is pretty foolproof, things can still go sideways. If your rice is turning out undercooked or hard, chances are you’re using too little water or not allowing enough time for natural pressure release. Stick with the 1:1.25 rice to water ratio and let that pressure drop slowly, trust the process.
On the other hand, if your rice is mushy or soggy, you’ve likely used too much water or quick-released the pressure too soon. Next time, reduce the water slightly and don’t be tempted to lift the lid early. Patience makes perfect rice!
Avoiding the “Burn” Error in Larger Models
Here’s a pesky one, the dreaded “burn” warning on your Instant Pot. This usually happens with larger models like the 8 quart, especially if the rice quantity is too small.
To fix it, try increasing your batch size or adding a bit more water (about 2 ¾ cups for every 2 cups of rice). Also, make sure no grains are stuck to the bottom before you seal the lid, a quick stir after adding water can help.
So, whether it’s too dry, too wet, or just plain frustrating, a few small tweaks can get your Instant Pot brown rice recipe back on track.
Serving Suggestions for Instant Pot Brown Rice
Meal Prep Ideas
One of the best things about this Instant Pot brown rice recipe? It’s perfect for meal prep. Since it keeps well in the fridge or freezer, you can cook once and eat all week.
Spoon it into bowls with roasted veggies and your favorite dressing. Or top it with scrambled eggs and avocado for a hearty breakfast bowl. You can even use it as a base for a quick fried rice, just sauté with soy sauce, garlic, and chopped veggies.
Brown rice doesn’t get more versatile than this!
Pairing with Protein and Veggies
Brown rice makes a hearty base for all kinds of proteins, think grilled chicken, tofu, salmon, or tempeh. It also pairs beautifully with stir fried greens, roasted sweet potatoes, or a rich curry.
For a fresh twist, toss your cooked rice with chopped herbs, lemon juice, and olive oil. Simple, healthy, and totally delicious.
No matter how you serve it, this Instant Pot brown rice recipe makes mealtime feel effortless and satisfying.
FAQs: Instant Pot Brown Rice Recipe
What is the best water to rice ratio for brown rice in an Instant Pot?
Great question! For this Instant Pot brown rice recipe, the sweet spot is 1 cup of brown rice to 1¼ cups of water. This ratio helps avoid soggy or undercooked grains, since the Instant Pot doesn’t lose much moisture during cooking. Stick to this rule and you’ll get fluffy, tender rice every time.
Can I use the “Rice” setting for brown rice?
Technically, yes, but it’s not ideal. The “Rice” button is designed for white rice, which cooks faster and needs less water. For brown rice, use Manual or Pressure Cook on High for 20 minutes, then allow natural pressure release for 20 more. That’s the key to nailing this Instant Pot brown rice recipe.
How do I prevent rice from sticking to the bottom?
If your rice is sticking, there might not be enough liquid in the pot — or some grains might be clumped at the bottom before sealing. Always give the rice and water a quick stir before cooking. Also, avoid small batches in large pots, that can trigger the “burn” warning.
How do I cook 1 cup of brown rice in a 6 quart Instant Pot?
Technically, you can cook 1 cup, just use 1¼ cups of water. But with a 6 quart pot, it’s better to start with at least 2 cups of rice for even cooking. Smaller batches may dry out or stick. For solo meals, try freezing the extras for later!
Conclusion and Recipe Recap
There you have it, your complete guide to mastering the Instant Pot brown rice recipe. With the right ratio, pressure settings, and a few handy tips, you’ll never go back to stove top rice again.
Whether you’re meal prepping, spicing things up with flavor boosters, or simply want perfectly cooked grains, this method has your back. It’s quick, hands free, and downright foolproof.
So go ahead, rinse that rice, press that button, and let your Instant Pot work its magic. Once you try it, this might just become your favorite go to recipe in the kitchen!
